Friday, November 30, 2012

Year of the Horse Sister Stamp Blog Hop

Welcome back today for the 2nd posting of the the newly released Sisters Stamps Zodiac Stamp set: The Year of the Horse. For the Horse image being release at this same time as the Year of the Snake, I chose a similar kind of Pop 'n Cut" card. SVG cut file is from Paper Pulse. For those who have SCAL2/3 and can use your Silhouette to cut this FREE cut file can be found here. The medallion is a SVGcuts.com cut file sized to be 3-1/2" and can be found here. The message "happy" was made using my SCAL computer program: cutting the words using the FREE font style Lavenderia Sturdy and making a shadow (offset). Nothing on the card front was popped with foam dots since the card itself was bulky enough.
Slowly open the card to reveal a lot of dimension inside:
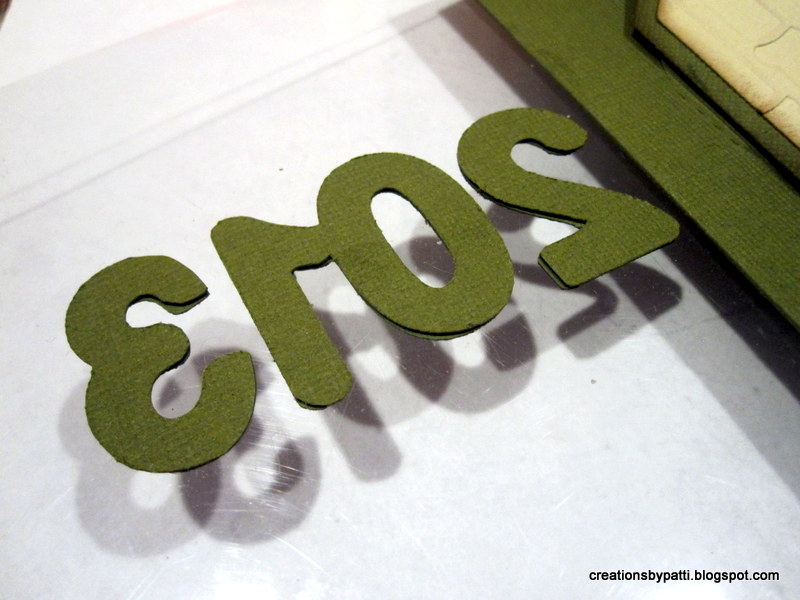
Year banner is cut using Arial font on the SCAL library. Banner (also part of the SCAL library)is popped with foam tape:
Inside medallion is cut 2-3/4", then adhered with foam tape: The newly released Sisters Stamps Year of the Horse Copic colors used E29, E44, E55, E27, E21, E34. Originally, the image was to be positioned on top of the medallion but then I decided to position it in between the stage and the pop up so I used my craft knife to cut a slit in the stage. Then used a clear acetate strip as the pop up. The acetate is anchored inside the stage. The Horse image is attached using sticky tape. Instruction for the Floating Floor (stage) can be found on Karen Burniston's blog.
There were some scraps from cutting the inside so I decided to use it for the shadow of the Horse Kanji. The Kanji is a clip art imported into SCAL and cut using my Silhouette.  Making the shadow was simple. The Horse Kanji is adhered to the punched (Martha Stewart) grass using foam tape.
Bottom inside card is using the left over Bo Bunny Serenity scrap from the front. Letters are cut out using Arial font with SCAL
Side view of the card and the mechanics:

Components to make this card: lots of pieces. 
More details:
Paper: Bo Bunny Serenity Collection, SU Cherry Cobbler, SU Certainly Celery, Recollections Black, Recollection Vanilla, Neenah White
Ink: Brown to sponge the edges , Momento Black
'
Hope you enjoyed this project. Happy crafting to all of you.
Please join the others who are participating in this exciting Year of the Horse release for their posting:
Eunice: http://astarforchiemi.blogspot.com/
Linda: http://simpleandsassycreations.blogspot.com/
Laura: http://bytkg.blogspot.com/

Thursday, November 29, 2012

Year of the Snake Sister Stamp Blog Hop

Hi Everyone, I am very excited to be one of the participants in the Sister Stamps hop for Release #10: Year of the Snake and Year of the Horse. This release is available for purchase on December 1, 2012 which is just in time to celebrate the upcoming Year of the Snake on February 10, 2013.  This these Zodiac animals are the first of a series of releases so stay tuned for more as the year unfolds. For this release, I chose to make a " Pop 'n Cuts Spinner Card" like the one shown on Karen Burniston's video here (all measurements on her video) using the Snake image.
The bamboo on the left side: SVG Bamboo cut file from Design on Cloud 9: Chinese Takeout found here
Open the card to reveal inside:
 Fully opened card:


2013 is made from using the font on the SCAL library and making a shadow. The reverse (mirrored imaged) is used on the inside of the acetate.
The newly released Sister stamp snake image: Copic colors used for the snake: G21, G24, G99, G85 and Darice Bamboo embossing folder on the background mat. Year of the Snake is computer generated using Comic Sans font

Snake Kanji is cut 1-1/2" x 1-12" with a shadow (offset) made from clip art and imported into SCAL/cut with my Silhouette.
Top and bottom  card view:
More Details:
Paper: Bo Bunny Serenity mat stack, SU Old Olive, Clear Acetate, Recollections Vanilla, Recollections Black, Neenah White
Ink: SU Close to cocoa (for sponging edges), Momento Black
And here what my components look like (note: I did not use the talking bubble shown)
Here's how I made the swinging arm for the computer generated message (follow Karen's video)
 So the last step is to pop the image with foam tape:

Stay tuned tomorrow for the Year of the Horse image being released at this same time as the Year of the Snake. Hope you enjoyed this project. Happy crafting to all of you.
Please join the others who are participating in this exciting release for the Year of the Snake:
Eunice: http://astarforchiemi.blogspot.com/
Linda: http://simpleandsassycreations.blogspot.com/
Laura: http://bytkg.blogspot.com/

Monday, November 26, 2012

Happy Memories Album

We all need one of these Mini Albums after a fabulous trip to the happiest place on earth: Disneyland. One of my favorite blog friends went with her family this Summer. For her belated birthday, this was the perfect gift!  The mini album kit is from Pine Cone Press, their 6" x 12" Happy Album found here. This mini kit includes all the details to cut each page and includes everything seen here. I decided to use my Bind it All instead of rings enclosed in the kit. I also added more tags, my own red paper clips and buttons. Here are the photos of each page.....self explanatory.......and quite fun to make and give. Most of the tags and images were used and very little scraps left over. This is the front cover:
And here are are various pages: Some have pull out mats (different from the original instructions):
 With a left over strip, a pocket was added to hold more tags:
 More photo mats added to the pocket:
 This kit has smaller fun pages which were very interesting:
 I popped this "Memories" image to enable a pull out:
 This is where I stuck a corner flower and made it into pocket to hold tags. Buttons are added to the top of the tags to cover the staples.
See the pull out mat? And, I love the last inside page where pockets were made to hold autographs.
 Back cover:
It was fun to pass this mini to her personally........the look on her face was so precious!


Friday, November 23, 2012

Thanksgiving Treats

Here are some cute treat boxes that were made for the Thanksgiving crowd yesterday............not too many this year (only 16)..........cut file is from the Silhouette on line store.  I love how quickly this cuts on the Silhouette Machine even with all those zillion score lines (mostly on the side of the box). Simple and quick............for all to enjoy (including myself). There are four characters to this set: Indian, Pilgrim Girl, Pilgrim Boy, Turkey.  Finished box size is 2-1/2" x 3" x 1-1/2".
Turkey:
Pilgrim Girl and Pilgrim Boy:
I think the Indian may be my favorite...hmmm......that hair (could be used for a Kyoto Cutie Girl box)
 This is what they look like on the dining room table:
Everyone loved them and there was just even chocolate inside, too


Wednesday, November 21, 2012

Mr. Snowman Treats

Another cute treat container from SVGcuts.com collection recently released called Christmas Open House SVG kit. This cute snowman was so easy to assemble....and remember, Mary always has a video that is easy to follow. Cuttlebug Dots embossing folder used for his body.  Mr. Snowman is 6" tall, about 3-1/4" in diameter.  He is so cute!!!!
Place a tea light in Mr. Snowman (even when white card stock is used) and it still works.

His red organdy tied ribbon bow around the Hat embellishment with Martha Stewart Punch for the leaves with SU Old Olives card stock, Marianne Creatables Poinsettia die with scrap red/yellow card stock. Sponge the pieces with any brown ink, then adhere to hat using mini glue dots.
His face: some small adhesive rhinestones (left over from Halloween) and Black adhesive rhinestones for the eyes. The ones I had were a bit small so all I did was punch a larger circle and it worked well.
And for his body buttons: larger green adhesive rhinestones (I actually got these recently from Joanne's on sale)
His arms are 3 layers of card stock so they are quite sturdy:
Remove his hat to reveal treats inside
 
 This container holds lots of nuggets!!!!
I will try to make more of these,. They are absolutely adorable..............don't you think?

Monday, November 19, 2012

Pagoda Cascading Birthday Card

Update: Link for Treasure Box Design Cut file has been corrected.
This Concertina Fold Card or a Cascading Card is posted on Splitcoast Stampers here. There is one already posted Nov. 5, 2012 here but I wanted to do another one that has some Asian influence in  it. Again, original inspiration is from Chris (her blog: CallaLillyStudioBlog.blogspot.com: she calls it her Retail Therapy Birthday - her blog here). Chris has so many different variations of this type of card (all so very clever and cute and I love them all). This birthday card was made for a VERY special gal. The words were cut using my Arial Font on my computer and SCAL computer program, weld and do a shadow and wha-la............instant words. All pieces were inked using brown ink. Finished card size ended up to be 6" x 7". Links to SVG cut files at the end of this posting.
That cute little Kyoto Kutie is a FREE cut file: cute, eh? I love tjhe adhesive flower in her hair. her hands and tea post are from a different SVG cut file: Take Out 4 Two: see the link at the end of this blog.
Closer view of the "Happy":
Closer view of the "Birthday": note it is adhered to a strip of acetate, then popped with a foam strip.
Top View: there is a 1/4" score on the right and left side to allow the card to "expand". This was not part of the original instructions.  And, I love the Paper Lantern die from Memory Box - it is just the right size for this card.
Side view: the bamboo SVG cut files from Designs on Cloud 9 were used here.
Bottom view: to enable the poles to stand, I made a 1/2" double layer bar cut out using the Graphic 45 Bird Song: Harmony paper long enough to slip in between the pole layers and cut 3/4" slits in the card base. Yes, double layer for poles and pagoda top were cut for it to be sturdy enough to stand up.
And, of course the back of the card for the message:Stamp set used is Papertrey Ink's Movers and Shakers Sentiments found here  With SCAL, it is easy to make the necessary adjustments to fit the card.
Memory Box Paper Lanterns die used on all 3 layers.Cuttlebug Asian Embossing Folder: the top folder was inked before embossing shown here:
More details:
Paper used: DCVW Summer Dream Mat stack, Recollections Kraft, Recollections Ivory SU Old Olive, SU Ruby Red, SU Blush Blossom, SU Grey, Scrap Yellow (for the te kettle handle), Recollections Black, Recollections Red, Graphic 45 Bird Song: Harmony, Washi Paper.
SVG cut files used:
Treasure Box Designs: Take Out For 2 found here (Cut file is on Page 4 at the bottom of "What's New" or do a search)
Designs on Cloud 9: Chinese Takeout found here
Under a Cherry Tree: Kyoto Kuties found here
This card really turned out well.............hope you all liked it, too.