Day 3 Last Retreat project designed by Alexandria Morein - her blog can be found here. Project size: 6-1/4" x 6-1/4" x 1-1/4. All papers used for this project supplied at retreat. There are four unique pages in this album. Stamps used: Rose Hat Marci, Absolutely Perfect Clear Stamp set, and Wood Planks Background (which has the "flower" stamps included). Dies used: Stitched Tags Die, Spring Flourish Die, Bohemian Feather Die, Long Flags Die, Stitched Elements Die, Filigree Leaves Die, Love Always Die, Stitched Circles Die, Large Stitched Die, Pointy Flowers Die, and Curved Pocket Die. Stamp and dies can be found here.
Front Cover: Popped 4-1/2" x 4-1/2" white card stock mat with a 4-3/8" x 4-3/8" decorative paper mat.
Here's a closer look at Rose Hat Marci colored using Copic pens.
The die cut flowers and Copic colored Cactus flowers here:
The die cut flowers and Copic colored Cactus flowers also on the bottom right side:
The spine: A solid color card stock mat with stamp. Copic color, trimmed "flowers". Slits are created to thread through the satin ties.
View of inside front cover and first page:
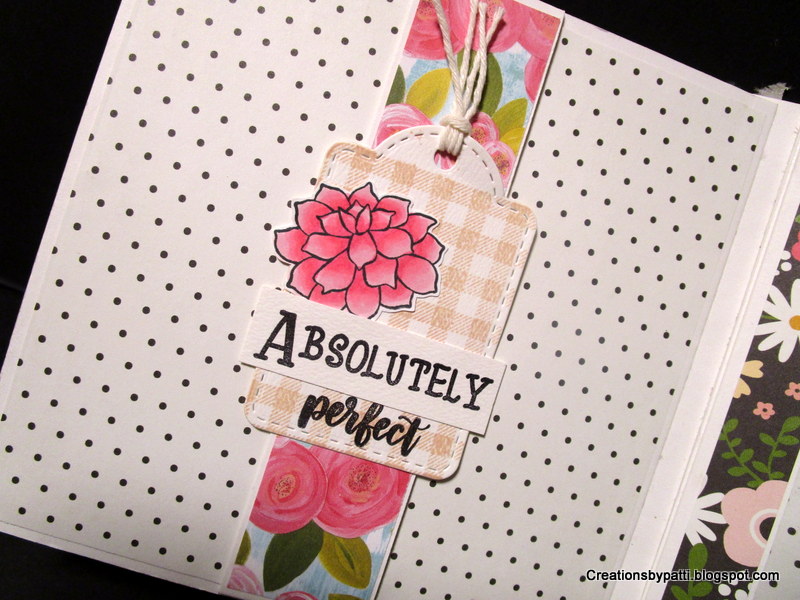
Inside front cover: Decorative paper used to die cut the Curved Pocket. Insert the Stitched Tags Die. Add the stamped message and die cut label from the Curved Pocket Die set. The stamped, Copic colored "flower" is added.
Page
1: interactive oval which moves up and down (sliding mechanism)
revealing the insides of the decorative squares on this page.
Here the oval can be moved up to allow the decorative flaps to open.
Behind Page 1:
A simple decorated page with a die cut Long Flag, die cut Bohemian Feather and Copic colored "flower". A photo can be slipped under the Long Flag since it is only attached at the top of the page.
Page 2: is the same details as behind page 1 except there is a 2" pocket to slip photos or other memorabilia.
Pages 2 and 3:
A 1-3/8" wide vertical decorative band with a die cut tag and stamped message. Add a Copic colored "flower" to complete this embellishment.
Page 3: Decorative Frame with a acetate window. Slip the photo from the top opening.
Behind page 3, page 4: reveals a spinning circle (Stitched Circles die) in the center. This was a very cool mechanism to create.
Another view:
Pages 4 and back page view:
Behind Page 4: a simple decorative mat with a Copic colored "flower".
Inside back cover: Decorative paper used to die cut the Curved Pocket. Insert the Stitched Tags Die. Add the stamped message and die cut label from the Curved Pocket Die set. The stamped, Copic colored "flower" is added.
Thank you for stopping by today to visit. This is the last project from the 3 day La-la Land Craft Retreat. I hope you have enjoyed all the posts. Have a crafty day!