Here's the spine and back cover:
On the spine, a special Disney Diamond celebration metal embellishment adhered using Ranger's Glossy Accents.
Punch out a Mouse head using the EK Success punch on Black glitter paper: I also used a black pen around the edges of the Mouse head.
The view master is a image that was cut using my Silhouette. The heart brad is from Stampin-Up (retired embellishment). This view master actually turns and photos can be slipped in between the layers. In order to ensure the view master was stable, several layers of black card stock was cut, then glued together. The film strip is also a Silhouette file.
Inside front cover: I added a glitter die cut Princess Castle (die is from Frantic Stamper found here). For the pocket decorative edge, I welded together a couple mouse heads (made using circles) using my Silhouette.
Page 1: pocket with film strip made using my Silhouette and a EK Success punched glitter Mouse Head.
Pull out tags with glitter Mouse Head punched in each of the 6 pages:
Page 2: a flip up page here
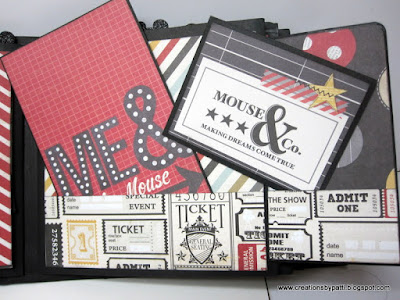
Revealing the Polaroid cut out and some tags:
Page 3: the first of three tag pockets:
In the tag pocket, a pull out tag
Fold aside the tag to reveal the pocket page with some additional photo mat booklets:
Page 4: a larger glitter Mouse Head cut using the Silhouette with a few layers of black card stock for stabilization.
Page 5: a gate fold page with a mouse head decorative edge and glitter mouse head cut using the Silhouette and has a magnetic closure.
Here's Page 5 gate fold opened:
Page 6: flip out page with a punched glitter Mouse head:
Flip open Page 6 to reveal a pocket page and booklets:
Page 7: the second tag pocket: fold over the tag pocket is a plain page.
Page 8: is a pocket page with booklets
Page 9: the second gate fold with a magnetic closure:
Open the gate fold to reveal a pocket with a booklet:
Page 10: my favorite is the Tripe Flip page with a magnetic closure
Flipping up the pages:
Page 11: third pocket tag with a plain page underneath
Page 12: Last and final page with a large Mouse head to hold a couple booklets.
Back inside cover: same details as the front inside cover.
Overhead view of album:
Thank you for visiting today................have yourself a crafty day!!!!


1 comment:
I love it so much !!!!
Post a Comment