skip to main |
skip to sidebar
Here is the second stamp posted from a company called Stamp Out Cute (image design #33A). They are located in California but their web site seems to be down so a link can not be provided at this time. They do occasionally participate in A Stamp in the Hand Rubber Stamp Shows (www.astampinthehand.com) within California. Contact Kat for further information about this company. This image is using Copics:W4, W1, B00, E29, E55, BG49, G07, R59, R27, V06, V04, Y18 Gold Smooch is used, too. Card stock is SU Real Red and Gold from Recollections. The decorative edge is a SVG cut file from Paulo - see blog posting yesterday (or here )for the link. Finished card size is 4-3/4" x 5-1/2" Hmm..it doesn't look like I fixed this photo...so sorry about that. Gold smooch used on her crown, front dress ribbon and jewelry:
 Here's where Gold smooch is sparingly used: peacock feathers?
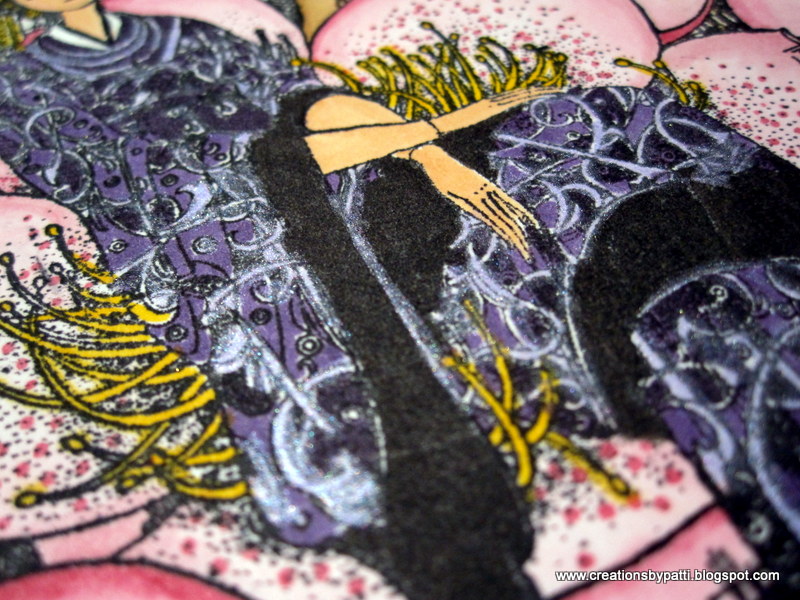
 Closer look at the dress:
 Card inside:
 Stay tuned for the next card in this series...........and a very happy crafty day to you!
I've had this stamp for a while and finally decided it was time to ink it up. It is from a company called Stamp Out Cute (image design #15A). They located in California however their web site seems to be down so a link can not be provided at this time. They do occasionally participate in A Stamp in the Hand Rubber Stamp Shows (www.astampinthehand.com) within California. Contact Kat for further information about this company. This image is very sophisticated and is the first of a series of 6 images that will be posted. Copic Pens used for coloring was the best way to bring out all the features. Colors used are: RV10, R81, G24, G21, G99, E55, E27, B41, W5, W1, W3, R20, E21, Y19. Moonlight Pearlized Smooch and Gold Smooch used as accents. Image is framed with SU Pretty in Pink CS and card is SU Chocolate Chip CS (even tho the photo shows it's a black color). The decorative edge is a SVG cut file from Paulo which can be found here. It is called A Fancy Asian Border. My SCAL3 computer program was used and my Silhouette was used to cut the file. Finished card size is 4-3/4" x 5-1/2". Yellow (Copic Y19) areas are dotted with Gold Smooch:
 Those cranes are actual shimmery with Moonlight Pearlized Smooch but doesn't show up in this photo:
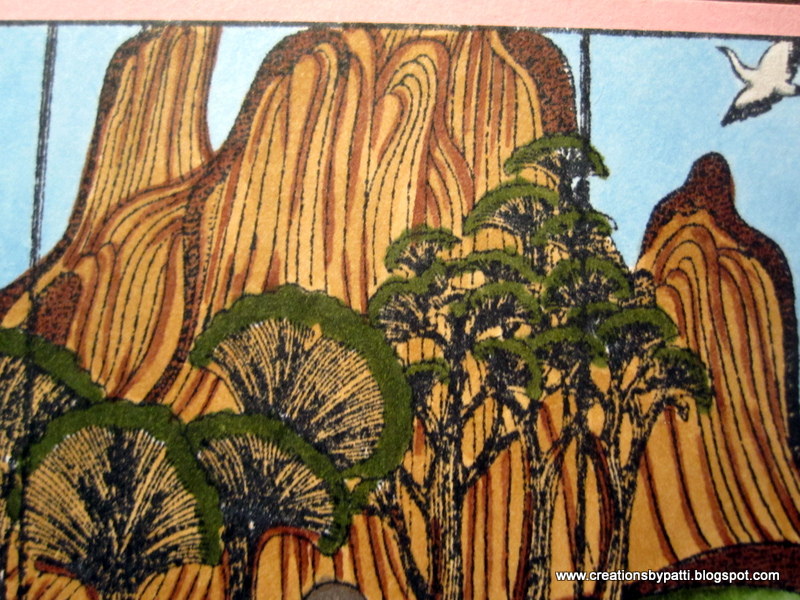
 Mountain coloring and tree top details:
 the "rolling greenery" and rock formation coloring:
 card inside with a decorative border
 Stay tuned for more images from Stamp Out Cute..............have very happy crafty day!
A nice card received from a fellow blogger: Jan Castle (see her site here): This is such a cute card. Do you see the cute details? OK - I'll point them out to you. The Main image is cut out using the Spellbinders Postage Stamp die and popped with dimensionals - I love how she highlighted the inside with a light green. You can only get the embossing and also sponge in the area as shown using Spellbinders while the die is on the paper. The edge of the postage stamp is enhanced with pink smooch - notice the stamped image also has some pink smooch accents. The panda, swirls, and message is using Versafine Black ink with clear embossing powder. "Feel Better Soon" stamp is from Sparkle and Sprinkle. Finishing touch for this card: adhesive pink rhinestones. And, here is a closer look at the postage stamp edge with the pink smooch:
 I love Jan's creative work. Hope you also enjoyed it, too. Have yourself a very happy crafty day!