Showing posts with label 2014 Halloween. Show all posts

Wednesday, March 4, 2015

LLC Retreat Halloween Zombie Marci Shadowbox

LLC Retreat, Project #26
This fun project was created by Sandie Dunne, her blog here. The shadowbox is paperboard and is quite sturdy.  The image is Zombie Marci.  Dies used are Scary Tree, Pumpkin Dies, Spiderweb Boarder, Spiderweb and Spider, Spiderweb Corner, creepy Vines, Tombstones, Eerie Bats and Frightful fence. All these as well as the Shadowbox can be found in the La-la Land Crafts on line store here. Project is approximately 6-1/4" x 6-1/4" x 1".  The Spiderweb Boarder is draped across each side of the Shadowbox.
LOVE LOVE LOVE the colors used for Zombie Marci - we were given Copic color direction at the La-la Land Retreat (thank goodness).  Behind Zombie Marci, at her feet, are two sets of cut Spiderweb Boarders which are offset.
In the top center of the shadowbox, is a Eerie Bat, popped with foam squares.
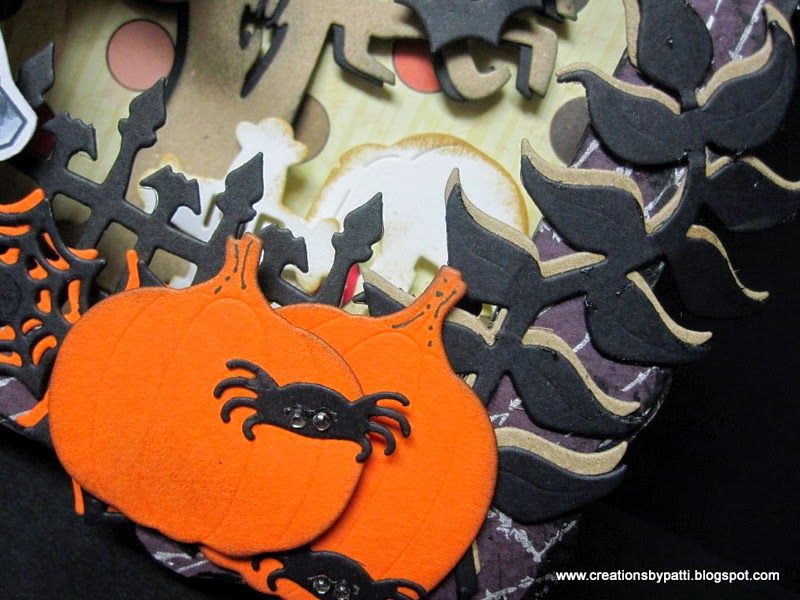
In the bottom right hand side are two die cut Creepy Vines which are offset to add some dimension to the image. The two pumpkins are cut in the typical orange color card stock.  Can you see the Frightful Fence behind the opening of the shadowbox?
Inside the Shadowbox, the Frightful Tree is cut twice: once in Kraft card stock and another in Black, offset, then attached inside. Adding the Eerie Bat is a nice finishing touch.
Side view with easel:
Thank you for stopping by today to visit...........stay tuned for the last project from the La-la Land Retreat.

Tuesday, January 27, 2015

LLC Retreat Dia De Los Muertos Marci

Day 1, Project #3: Card designed by Sandie Dunne (her blog here). This card is specific for the "Day of the Dead" but any sentiment can be used for the image.  Finished card size is 5-3/4" x 5-3/4".  There are several dies used to embellish this card along with numerous layers of matting. The card base is Black, then a layer of Vanilla, then a layer of decorative paper.  The smaller mat is Black, then a layer of decorative paper........but wait, there's one more layer: Image layer stamped with Dia De Los Muertos Marci (found here) is Black card stock, then White Express it paper specifically for use with Copic pens.  Whew - that's 7 layers of card stock.  The Image layer is the only one that is popped with foam squares.  Dia De Los Meurtos Marci is colored using Copic Pens (thank goodness we all received color info at the La-la Land Craft Retreat!).
Here's two of the 6 dies used: it is the Tombstone die which can be found in the La-la Land Crafts Store found here. Sponge the eadges of the cut pieces for some ineterest. These tombstones are popped with foam squares.
A closer look at Dia De Los Muertos Marci celebratiing the day.  Dies cut in black card stock flanked on each side of her are the die cuts from Creepy Vines and Eerie Bats.
On each top corner is the Spiderweb Corner die. Across the front is the Spiderweb Boarder and Spider die: both cut in Black card stock.
 A side view of the card.
Card inside: Spiderweb Border Die across the top of the card. Lots of room for a message or a photo.
 Thank youf or stopping by today for a visit, stay tuned for more projects form the 2014 La-la Land Craft Retreat.


Wednesday, November 5, 2014

Halloween Witch Boot


Some Witch boots for Halloween. These are quite large when they are finished.  Finished size is 8" x 9" x 2".  It is a SVG cut file from the on line Silhouette Store.  You can find all the info along with a tutorial on how to assemble this boot in their store link.
See the boot and how cool is that?
Love this bat with red adhesive rhinestone eyes.  He is attached with some black wire.  Wrap the wire around a small paint brush for it to get that "curl" look. Follow the instructions to attach to the tip of the boot with a hot glue gun from the inside.
See the lace up details: Edge of the boot contrast has orange Stickles
Another view: ends of the 1/4" satin black ties are using a 3/4" circle punch and a 1/2" circle punch.  finish ti off by adding some orange Stickles.
Here's a side view showing the black web and heel:
View from the top - I chose to use ribbon for the top of the shoe instead of the Halloween pumpkin boarder that came with the file.  I used my sewing machine to gather the 1-1/2" ribbon, the attached it to the top of the boot using sticky tape (which still did not hold it............grrr............). Black tissue to cover the candy inside:
Some of the candy from inside the boot:
Thank you for stopping by today to visit .................

Tuesday, November 4, 2014

Trick or Treat

Here are some of the Treats I received from some fellow crop friends: pretty cool trick or treating!!!!
 Some individual photos: this one is a tea light holder with a happy (not scary) pumpkin face.
 See the glitter tea light? Nice!
How about a tiny take out box?  It's dainty n the perfect size fr treats.  the Boo tag is pretty cool, too
 It has a stamped ticket message in the inside:
 This is a pocket treat with decorative twine and stamped ghoul:
 This googlie eye bat holds a Candy lollipop - perfect size!
 This is a witch hat - nicely decorated with netting, ribbon and twine.
 Treat is a lollipop shown here:
 Nothing beats some Halloween jelly bean treats
 Captain Hook Jelly beans:
 This cute bag topper has a glitter embellished ghost - love the web bag..........
 In the back of the topper, a stamped message:
 This bag of treats has a coffin tag: cool, eh?
 Inside the bag, a lollipop treat with a special tag:
Another bag full of treats. This is a envelope punch board box - very cool.  It is embellished with a popped spider and wrapped twined. Inside are surprises I can't wait to unwrap.
Thank you for stopping by and hope you enjoyed my trick or treating................

Monday, November 3, 2014

Halloween Treats

Did you all have fun on Halloween? Here are some of the candy treats I made.  I used some paper I had in my stash - I really tried to use some of what I had rather than going out to get even more.  Unfortunately, I didn't use up too many sheets since these treats didn't take much paper at all.  These treats are the right size to hold 2 mini chocolate bars: 4-1/4" x 7/8" x 7/8". Oops, forgot to take a photos of the clear acetate container in the same 4-1/4" 7/8" x 7/8" size - it is from a store in Vancouver, British Columbia called Archies . I had purchased them many years ago for pennies.  I'm not sure if the store still exist or not.  The only thing I had to do was make those pinwheel fans to hold the embellishment.  It is a Sizzix die from Tim Holtz.
Here are some of the box treats - decorated with some of the separate embellishments I have purchased after the Halloween season and finally need to use.
Thank you for stopping by today to see what I handed out for Halloween............stay tuned to see what I received.

Monday, October 20, 2014

Hello Kitty Skeleton Thank You

This is a quick A2 size Thank You card using the SVG Cut File from one of the SVGcutting first Hello Kitty Blog Hop (August  2013).  She is cut 3-1/2" high.  Background paper is from a Cloud 9 Photo Mat pack. Card base is using Recollections Black.
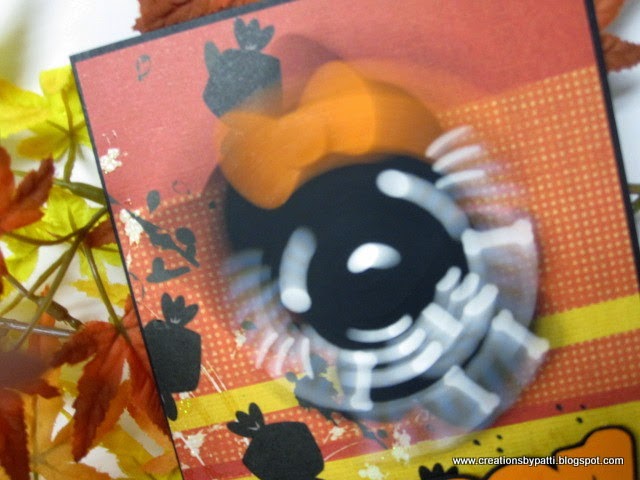
Add a wobble for that fun action:
The Wink of Stella Clear is used on her Orange Bow (sorry photo doesn't show it at all). 
Merci  is cut using my Silhouette - it is a easy to create these words on the Silhouette program and also make an offset background mat.
Card inside with a Orange card stock and White card stock mat:
Thank you for stopping by today.