Thursday, December 8, 2016

Lawn Fawn Holiday Cards

Here are some Holiday Lawn Fawn cards made at a recent card making event: Cards were cut and scored (love that!).  Little stamping or coloring was expected since it was already done so basically, we assembled these cards at the event. 
The Stove: I added acetate to the oven door.
 Door open:
 A slider Fall Card:
 Here is the hedge hog at the bottom at the top of the heap of leaves:
 This card has a belly band:
 Remove the belly band to reveal a pop-up winter scene:
 A closer look at the scene:
 Side view of the pop-up:
A 3" x 4" note card. Die cut snowflake has Diamond Stickles added. Center has a adhesive rhinestone.
 Open to reveal: Diamond Stickles addded around the whote card stock portion.
 Side view of the pop-up:
Thank you for stopping by today to visit, These cards were fun to make. Have a crafty day.

Monday, December 5, 2016

Seoul Marci Mini Book

My very favorite colors: red, black and white used to make this adorable album.  Finished size is slightly smaller than the previous ones posted on my blog. It is 4 x 4-3/4" x 1-1/2". Although the photos below do not show any words used. Photos were printed and later the words were applied on top.  Words used are from the Sizzix Thinlits "friend" and "celebrations" collections. Silhouette cut words were also cut out: "yum" and "1997", "2000", "2016" using Ariel Font. Two La-la Land Crafts digital images were used: Marci with Camera and Traveling Marci. They were printed 3-1/2" tall. In addition, La-la Land Crafts die used is Photo Elements found here. A Memories die from Papertrey Ink found here

Marci with Camera Copic colors used:
Hair, Skirt, Hat Ribbon and Bow, Shoes, Bag: C02, CO4, CO6, CO8
Face: E11, E01, E00, E000, R11, R20, R21
All Reds: R22, R24, R29
Copic .05 Multi liner Pen for stipple in her hat, dots on her top, and hounds tooth texture
 Spine view:
 Back cover computer generated words and die cut using the label from the Photo Elements die:
 Overhead view:
In side front cover holds a pocket with a removable booklet.  Traveling Marci on the first page. Copic colors used:
Hair and shoe: CO2, CO4, CO6, CO8
Face: E11, E01, E00, E000, R11, R20, R21
Hat and Skirt: E51, E53, E55
All reds: R35, R37, R59
Top is printed plaid and reduced in size, then adhered to image. 
Copic .05 Multi liner Pen for stipple and luggage on her hat.
All solid color red card stock pages are using Cuttlebug D'vine Swirl Embossing Folder. The booklet inside holds a special event we participated in the year 1997 and again in the year 2016:
 Pages are as follows:
 Open the flap to reveal more spots for photo opportunity:
 Double flaps:
 Open to reveal:
Back page with a flap:
 Open the flap to reveal another space for a photo:
 Inside back cover: Marci with Camera on one page and a removable booklet in the pocket.
In the back inside cover pocket is a booklet where a photo from the year 2000 will be secured and one the right side, a photo from this current year of us.
Thank you for stopping by today. Have a crafty day.

Friday, December 2, 2016

A TsumTsum Themed Mini Album

Here's another mini book using the same album format as the one posted on November 16, 2016 Marci with Camera Project (a monthly kit) and post on November 28, 2016 Marci with Camera 16th Birthday Album. Instructions for this album were part of the monthly kit.
Unfortunately, complete kits which included designer paper are no longer available but you can still purchase the monthly kits with a few options - see this link here.


 This album was made for a special friend's birthday. For the front cover, Spellbinder Labels Fourteen was used.  The Tsum Tsum background images were a free download found on line, printed, then wrapped around chipboard for a finished look. Font used is a free font called: Chubbies. Just fill each letter with bright fun colors. And, of course, there is the Disney Free font also available on line.  This album will be filled with the Instax photos we will be taking at the celebration.
 Here's the front of the bag:
 Side of Album with hanging Tsum Tsum Charms found on line:
 A closer look at the charms:
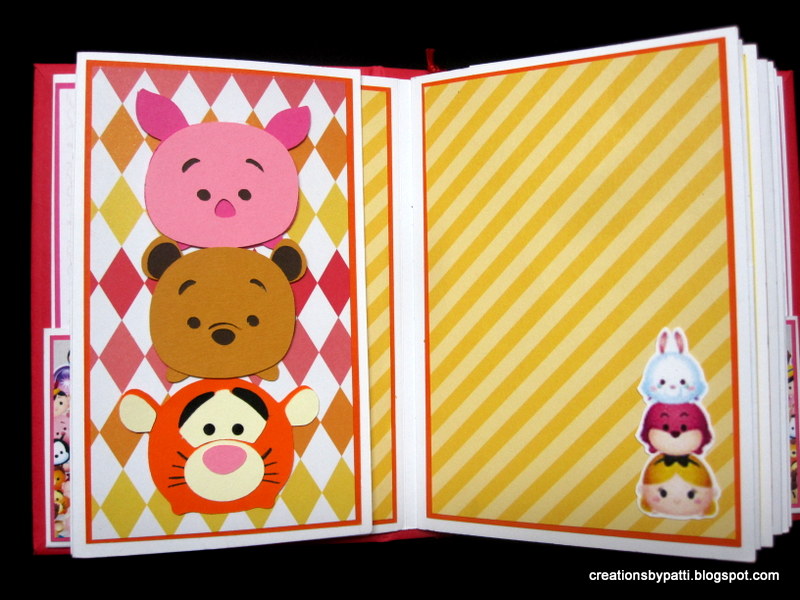
 Inside front cover and page 1: "Happy Birthday" was computer printed with bright colors.  Stacked Tsum Tsums were available free on line.
 Various Tsum tsums were added to the pages as well as printed stacked smaller ones (bottom right page).
 Open the left cover to reveal TsumTsum Chip and Dale:
 On these flaps are Donald and Daisy Tsum Tsums:
 Flaps flipped up and to the right:
 This page occupied simply by Tsum Tsum pairs:
 Center of album are some favorite Tsum Tsums:
Open each side to reveal peeking Tsum Tsum (found this image also on line). Note the background of these pages have subtle printed Tsum Tsum words in light grey color.
 Nextg page is simple stacked Tsum Tsums:
 Another Flip page:
 Here are flaps flipped:
 Last page with Tsum Tsums and a set of stacked Tsum Tsums.
 Open the last flap to reveal a pair of Tsum Tsums:
 Back inside cover : just like the inside front cover, there is a removable booklet.
Final fun thing made: some Mickey and Minnie Tsum Tsum favor boxes filled with surprises.
Hope you enjoyed this post. Have a crafty day.